Tutorial : Setup Notes for Customer and Ship-To Locations for OE screens.
Example: A Sage 300 user needs to display Notes when entering Orders in O/E based on the Customer and Ship-To Location fields. They store delivery instructions per customer and Ship-To Locations.
Key Steps
For details, refer to Setup Notes.
-
Create the I/M Note Type - Notes Type Form
-
Assign security permissions to the relevant roles - Roles Screen
-
Ensure the users are assigned to the relevant roles - Setup User Roles
-
Configure the Note to the appropriate Screen and Fields - Options / Notes/DML/Extender Tray Tab:
-
View/Enter Notes
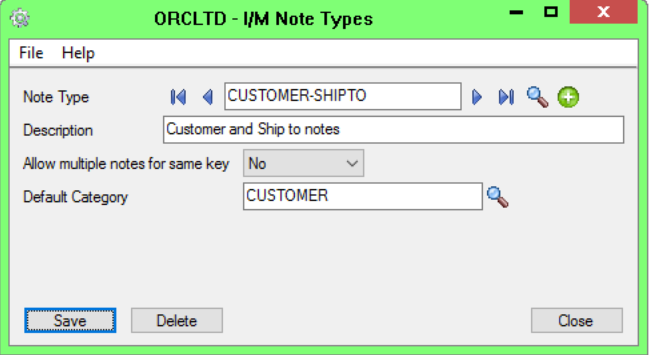
1. I/M Setup \ I/M Note Type
Create the required Note Type.
"Allow multiple notes for the same key" lets you to choose whether to allow for either:
a single Note record only for this Note Type, or;
multiple Note records (in which case Notes will store the date and time each note was created and amended, and by whom)
"Default Category" allows you to define the default color for Notes of this Note Type
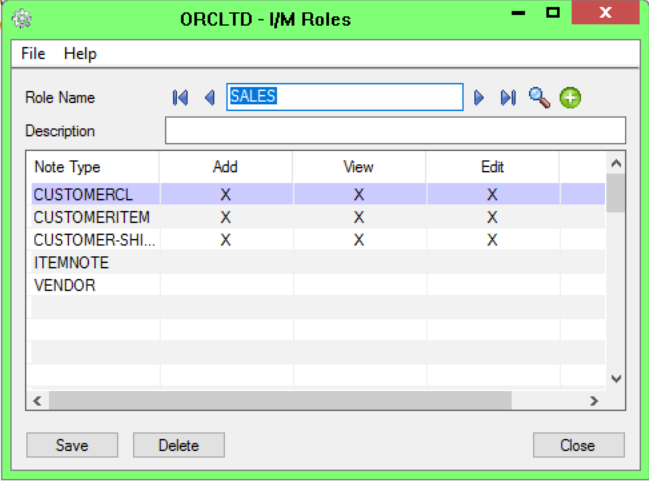
2. I/M Setup \ Roles
Roles determine the security levels for Notes. For details, refer to Roles Screen
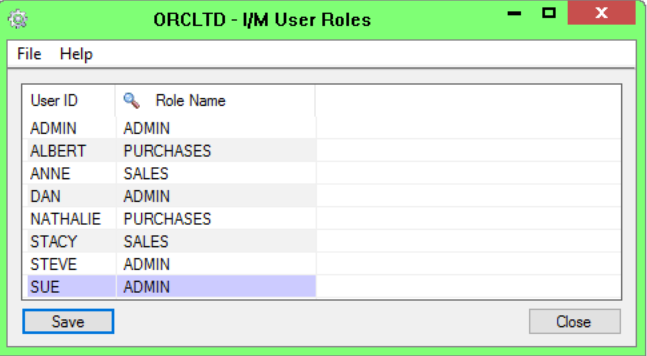
3. I/M Setup \ User Roles
Roles determine the security levels for Notes. For details, refer to Roles Screen
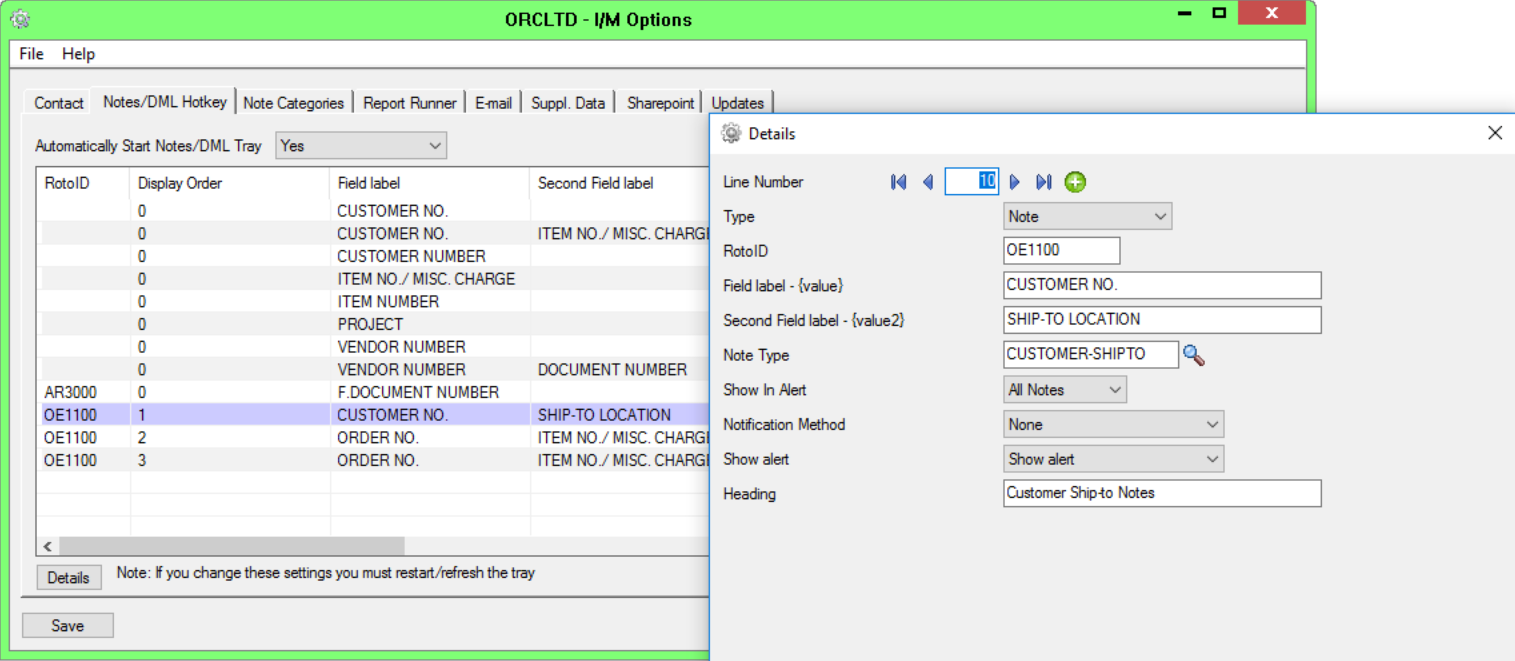
4. I/M Setup \ Notes/DML/Extender Tray setup
This step configures what screens and fields launch the Tray.
Add a detail line to configure the Note
Tip:Use the F9 / Zoom Detail screen to setup Notes Hotkeys as this will show you the required fields for each Notes type. For Documents, the key elements to configure are the Field labels and the folder fields. a. Automatically Start the Notes/DML Configure Tray Icon to display Extender Logs and Workflow
Fill in the "RotoID" (OE1100 in this example) if you want to restrict this Note to this screen only.
Note: You can get the unique identifier of the Sage 300 screen on the Sage 300 Desktop or you can use the Tray hotkey to find the RotoID of the screen.
"Value" must contain the field label of the first field you want to link the Note to (e.g. CUSTOMER NO.)
"Value2" must contain the field label of the second field you want to link the Note to (e.g. SHIP-TO LOCATION)
Select the appropriate Note Type
Tip: As "Customer-Shipto" Note Type was created to allow only one record in this example, it is irrelevant what selection you make for "Show in Alert". Had you allowed multiple Notes, this field would allow you to show the First, Last or All Notes when storing multiple records for the same Customer/Ship-to Location combination.
"Notification Method" allows you to be notified of Notes by methods other than the "Alert Box". IE make the System Tray Icon go red, or go red and flash, or automatically open the Notes entry screen. In this example we will select None.
The "Show Alert" field defines whether the Note appears and fades out ("Show Alert and Fade") or is always visible ("Show Alert").
Note: In most cases you would set Notification Method = 'None' and Show Alert = ''Show Alert" to display the Alert Box on all screens that have Notes configured.
Define a heading for the Note.
Tip: Select a meaningful heading to distinguish the various Notes, in particular if some screens have multiple notes and documents
5. Refresh Tray icon
Refresh the Tray icon if you have made any changes on the IM Setup>Options in the current session as the Tray icon reads the current setup when the company is first opened.
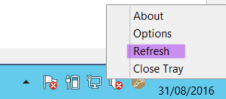
Tip: If you have multiple Tray icons, Close the Sage 300 desktop and re-open to refresh the configuration.
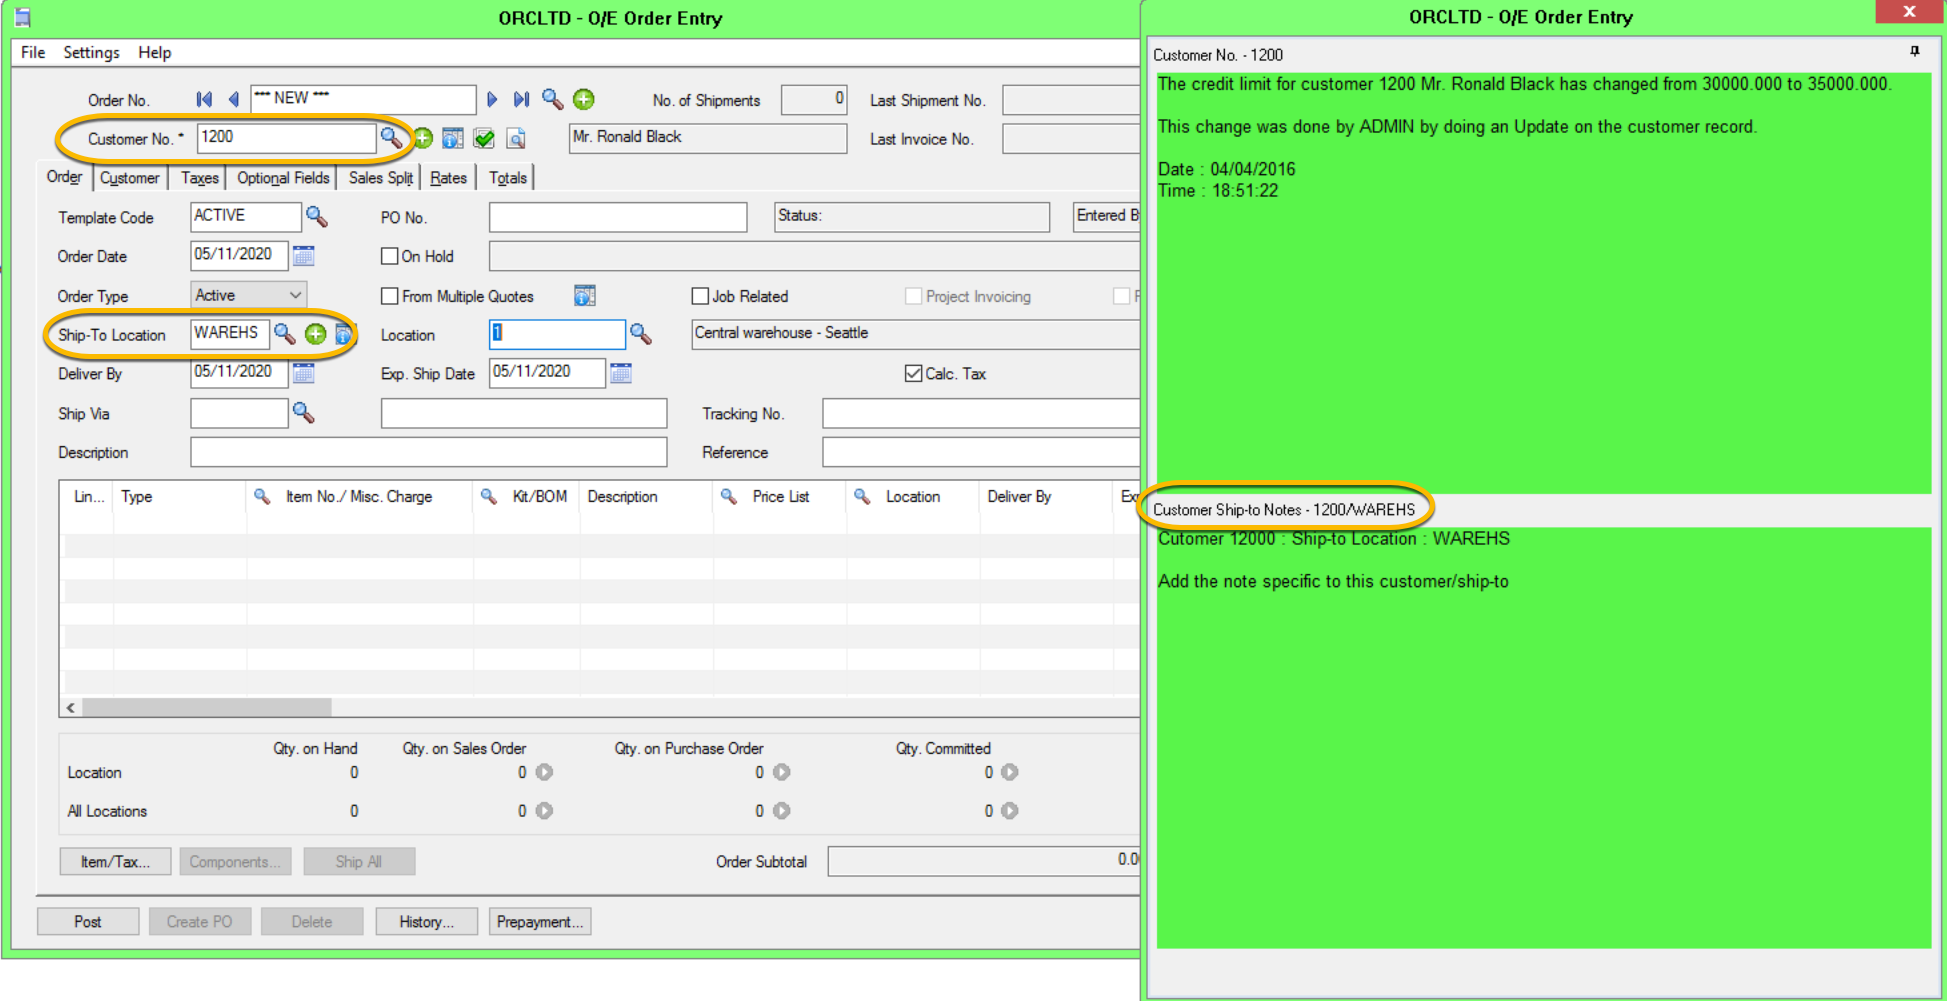
6. View Note in O/E Order Entry
Start OE Sales Orders, and create/view an order for the required Customer/Ship-To Location.
If you have already entered a note for this Customer/Ship-To Location combination using I/M Transactions\Notes, the note will be shown.
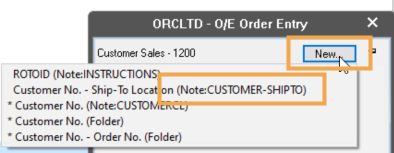
7. Enter a Note in O/E Order Entry
If there is no note for this Customer/Ship-to Location combination, you can add a note (if your User role allows you to add notes). There are different options to enter a new note:
Use the Notes Icon
on the screen, or
select "New" in the Tray and select the CUSTOMER-SHIPTO Note Type,
or use F11 hotkey
Use the Insert (INS) to add a new row and enter the note detail.
If you are entering Notes using the I/M Notes screen for Notes configured against two field labels configured, then the key values must be entered separated by a dash "-" (e.g. 1200-WAREHS).
Notes uses the dash as a delimiter when extracting the two key values.
