Setup Document Management Link with SharePoint for Office 365
If you are not using SharePoint to store documents, refer to Setup Document Management Link.
Orchid Document Management Link (DML) has included integration with Sharepoint.com since 2014. As more and more customers use Office 365, we have documented the key steps to get DML integrated with SharePoint for Office 365.
About this example
We will setup SharePoint and DML to store all A/P Vendor documents, in a folder per Vendor, within a SharePoint library called "Sage300DML".
When viewing a Vendor screen, all documents for that Vendor will be displayed.
When looking at a specific AP Invoice in Sage 300, only documents in the Vendor folder that are tagged with that Invoice Number will be displayed.
Tip: Documents uploaded directly to the SharePoint library will also be displayed by DML, if the metadata tag properties have been updated as per the DML configuration.
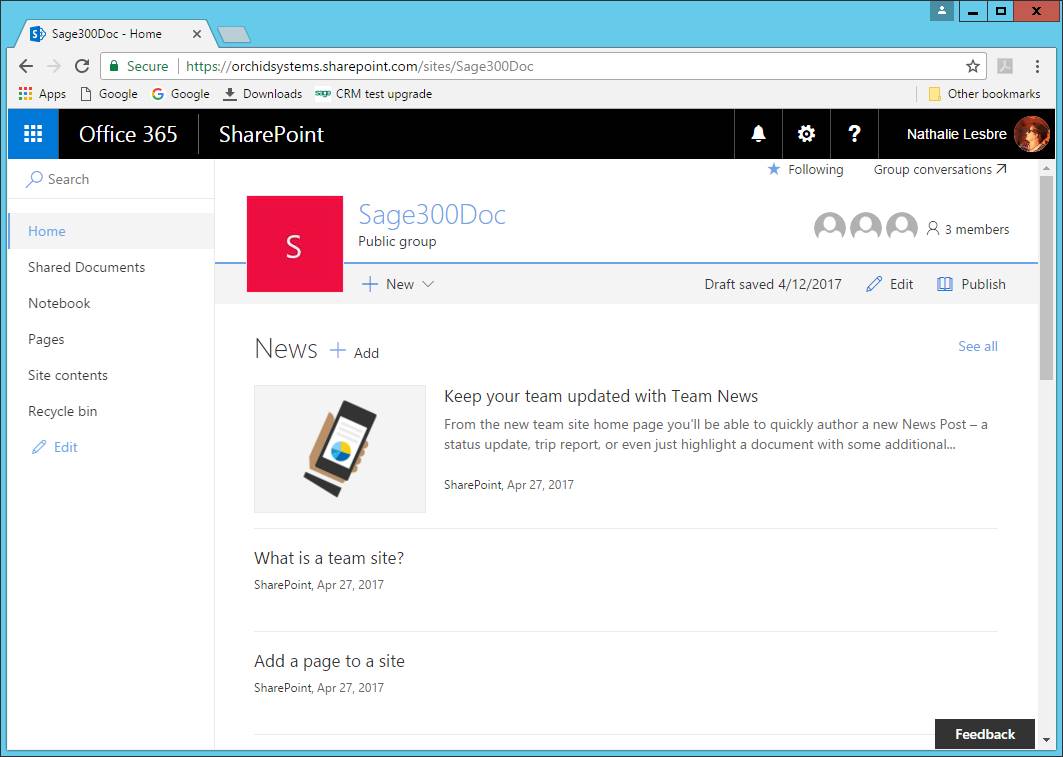
Step 1. Log into your SharePoint site
Step 1.1. Confirm site details if you want to use an existing SharePoint site
If you already have a SharePoint site,, navigate to the Document Library list where you want to store the Sage 300 documents.
Hover over any one document to get
a. SharePoint server name: mycompanyname.sharepoint.com
b. SharePoint site name: MSTeamTest
c. Document folder: Shared%20Documents or Shared Documents

Step 1.2. Create a site to store documents relating to Sage 300
If you don't have a site, you can create a new site. It can be an Organisation site or a Team site.
Document Management Link uses SharePoint security. You need to ensure the users have the appropriate rights in SharePoint.
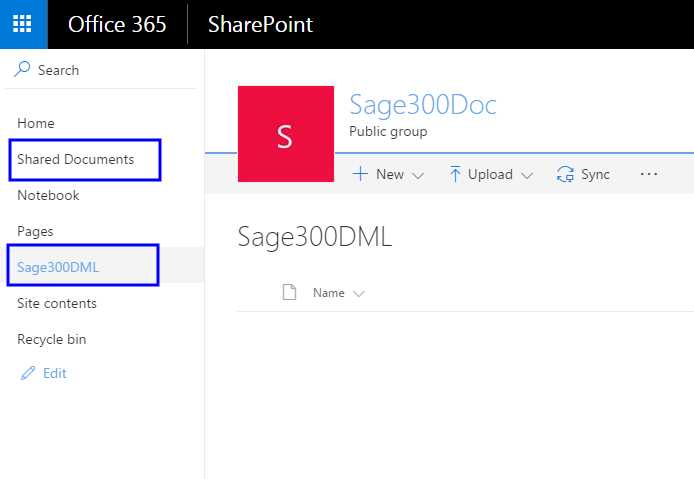
Step 1.3. Add a Document Library and folders to the site
In the example below, we have created a Document LIbrary called Sage300DML.
You can also create folders for different types of documents, for example AP documents and AR documents.
You don't need to create sub-folders per vendor or customer, Document Management Link creates the folders when you upload the documents from Sage 300.
You can use the default Shared Documents library. However, in some cases the name you see as "Shared Documents" is not the same as the path name and can cause connection issues. You may need to use "Shared%20Documents" in the I/M Options > DML Setup
It is recommended to create a new folder or library to store DML documents.
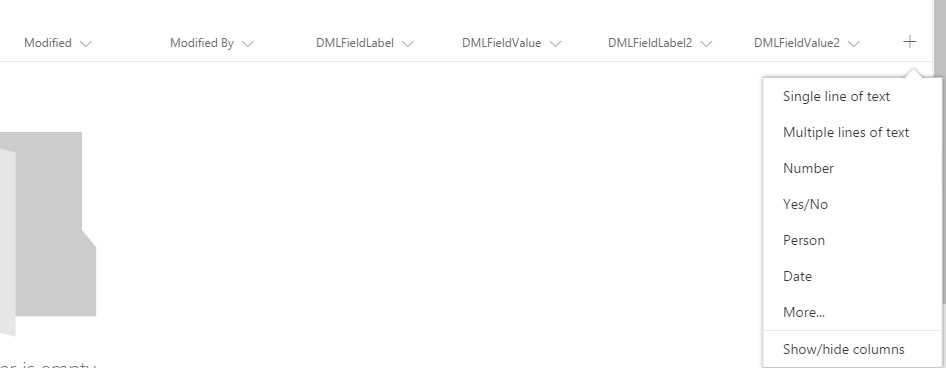
Step 1.4. Add columns to SharePoint Library to store DML references
The new columns will store the link between the SharePoint Document and Sage 300 Document Management Link. They are used in the Notes/DML/Extender Tray Setup - you can call them what you want
In this example, we have created: DMLFieldLabel, DMLFieldValue, DMLFieldLabel2, DMLFieldValue2 and DMLSageRotoID.
You need 3 fields if you link documents to one Sage 300 field, 5 fields if you link documents to two Sage 300 fields.
How does it work?
-
and : the type of document link you are using , is filled with the Sage 300 field label when attaching documents
-
and : The Sage 300 key value this document is linked to.
-
: The Sage 300 screen which was active when this document was uploaded to SharePoint from the DML Tray.
Note: SharePoint paths and field labels are case sensitive.
Example with AR Customer
You want to configure DML to show AR Customer documents for the AR Customer Activity screen.
The SharePoint field DMLFieldLabel is updated with ‘CUSTOMER NUMBER’ as the link is from the AR Customer Activity Screen, via the customer number field and DMLFieldValue is updated with the customer number , e.g. 1200 for Customer 1200 / Mr Ronald Black.
DMLSageRotoID in the example above, which is updated with ‘AR1300’ when dragging in a document with the Sage 300 AR Customer Activity screen open
Example with AP Vendor and AP Document
DML configured to show A/P invoice documents on the A/P Invoice entry screen. The link is from the AP Invoice Entry screen, via the Vendor Number and Document Number fields.
The SharePoint fields are updated as follows:
is updated with ‘Vendor Number’
is updated with the actual Vendor customer number , e.g. 1200 for Vendor 1200 /Chloride
is updated with ‘Document Number’
is updated with the actual document / Invoice number , e.g. INV9088
in the example above, which is updated with ‘AP2100’ when dragging in a document with the Sage 300 A/P Invoice entry screen
Screenshots show SharePoint configuration and corresponding configuration in Sage 300 I/M Options. The column names added in SharePoint are used in the I/M Options configuration.
Step 1.5. SharePoint Security
You need to give the users the required SharePoint security first. IE if they cannot view the documents in SharePoint , they will not see them in DML. If they do not have security to add in SharePoint , when they drag and drop into DML – they will get an error message.
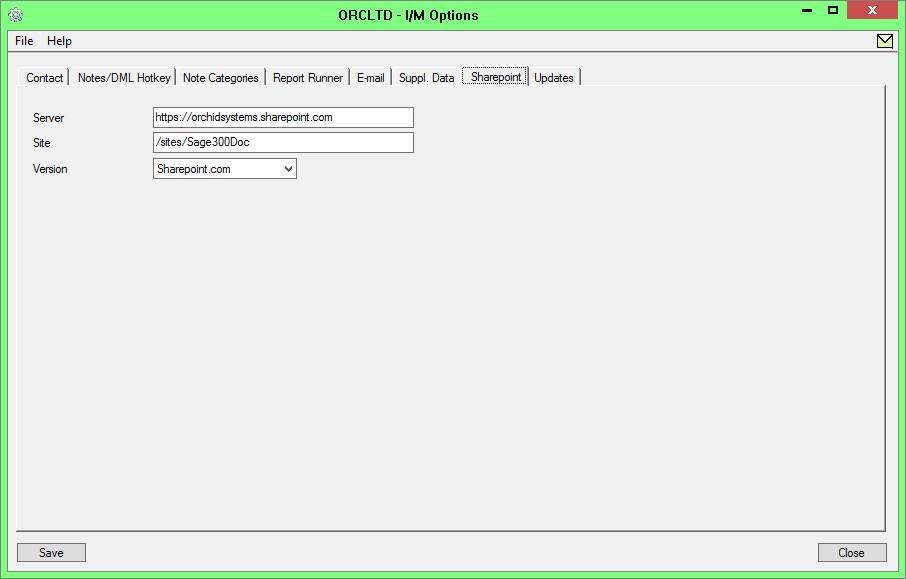
Step 2. I/M Setup - Options - SharePoint Tab
The SharePoint site details must be entered in the I/M Options >SharePoint tab.
: enter the details of the server name. For Office 365, use https://samplecompany.sharepoint.com
: Enter the site name, including the folder you want to save the documents into.
Example: /sites/Sage300Doc - This assumes you have created a SharePoint site called Sage300Doc
Example: /sites/MSTeamTest- This example is when using the SharePoint site created by Microsoft Teams. Check the name in the browser, as you may have renamed the MS Team after the site was created.
Tip: If you can upload documents, but cannot view linked documents, check the site field on the SharePoint Tab and ensure it doesn't have a trailing / after the site name.
: Select SharePoint.com for Office 365.
Step 3. Notes/DML/Extender Tray Setup (I/M Options)
In Information Manager > Options > Notes/DML/Extender Tray, create the rules to link Sage 300 records to the SharePoint Documents.
Step 3.1. Add record to display all Vendor Documents on the A/P Vendor screen
In this case: All Vendor documents in a separate folder per Vendor, when opening the A/P Vendor screen in Sage 300 desktop.
You use the column names created in SharePoint for the SharePoint Field Labels and Values. You can also include them in the filter.
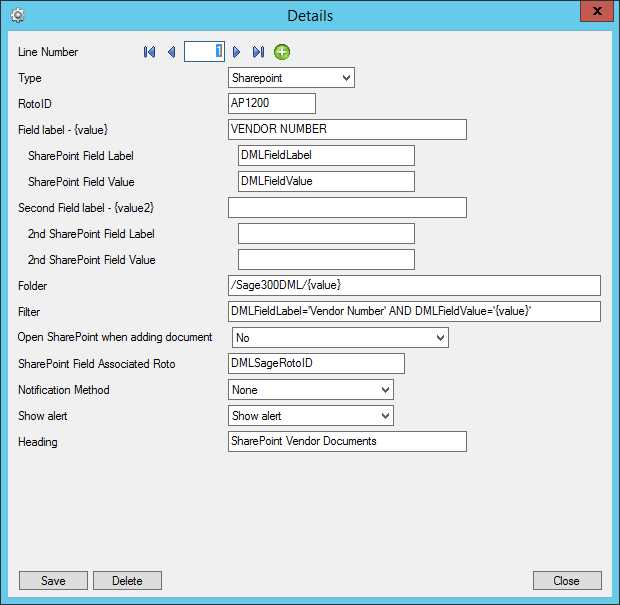
Tip: If you want the users to add a Title (or description) for the document as they are adding the file to SharePoint, you can select "Yes" for the option "Open SharePoint when adding a document". This will enable the operators to add a title for the document, in order to augment the file name when searching for documents.
Step 3.2. Add record to display Invoice documents when entering an A/P Invoice
On the AP Invoice entry screen, all documents in the Vendor folder tagged with the Document Number will be displayed.
The vendor folder is set by using {value} in the Folder field.
You can filter the documents based on the record value. You could use filters based on other columns in SharePoint if required.
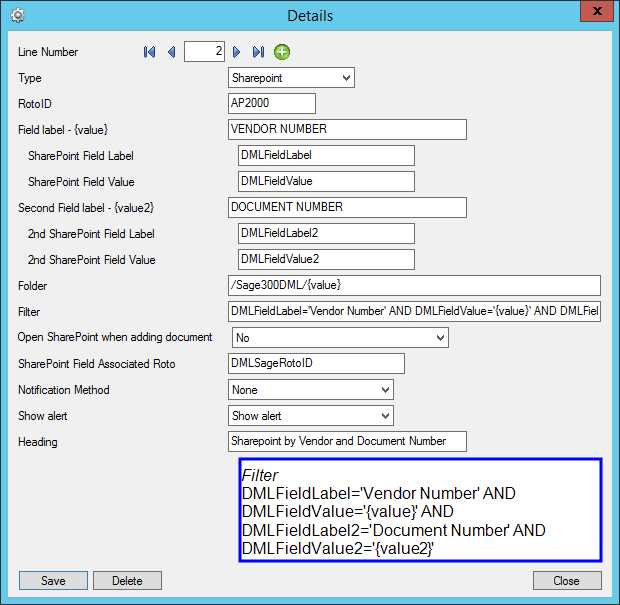
Filter example: DMLFieldLabel='Vendor Number' AND DMLFieldValue='{value}' AND DMLFieldLabel2='Document Number' AND DMLFieldValue2='{value2}'
If you select Invoice INV123for Vendor 1200 in Sage 300, DML will list all documents in SharePoint, where the columns are
DMLFieldLabel='Vendor Number'
DMLFieldValue='1200'
DMLFieldLabel2='Document Number'
DMLFieldValue2='INV123'
To view detailed field description: Notes/DML/Extender Tray Tab - SharePoint Configuration
Step 4. Configure Users
Step 4.1. Add users to the Information Manager License screen
Add all users who need access to documents in the I/M License screen.
See details: Enable a Sage 300 user as a DML User
Step 4.2. Configure user's SharePoint details
For SharePoint Online, leave details blank in the tray
If the details in the tray are blank, users will be prompted to logon to SharePoint Online and the details are saved in the Windows settings.
In the tray
You only enter SharePoint user details in the tray if you are not using SharePoint Online and your installation supports basic authentication.
-
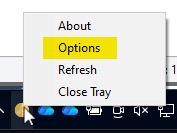
Select the Information Manager Tray in the System Tray and choose Options.
-
Enter the SharePoint User and Password if basic authentication is enabled.
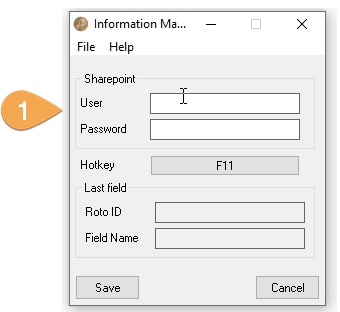
-
Leave SharePoint details blank if using Office 365.
-
DML will prompt the user to login to SharePoint Online in a browser
-
The user will be prompted to enter their logon details and the 2nd factor authentication when they use DML.
-
Details are saved in the user's windows profile.
Note: This works whether you use multi-factor authentication or not.
Using Document Management Link and SharePoint
Refer to Using Document Management Link with SharePoint for Office 365
Troubleshooting DML and SharePoint
Troubleshooting Document Management Link with SharePoint Online