Using Document Management Link with SharePoint for Office 365
To setup DML for SharePoint, refer to Setup Document Management Link with SharePoint for Office 365
For an overview of using DML, Using Document Management Link- Network Folder
About this example
We will setup SharePoint and DML to store all A/P Vendor documents, in a folder per Vendor, within a SharePoint library called "Sage300DML".
When viewing a Vendor screen, all documents for that Vendor will be displayed.
When looking at a specific AP Invoice in Sage 300, only documents in the Vendor folder that are tagged with that Invoice Number will be displayed.
Tip: Documents uploaded directly to the SharePoint library will also be displayed by DML, if the column values / metadata tag properties have been updated as per the DML configuration.
Using Document Management Link and SharePoint
Step 1. Log in to SharePoint
When you use a screen with DML and SharePoint configured, DML will prompt you to enter the credentials and the multi-factor authentication. The credentials are saved until they expire or you clear the cookies. Depending on your SharePoint configuration, you may get prompted on a regular basis.
Note: You only enter SharePoint user details in the tray if you are not using SharePoint Online and your installation supports basic authentication.
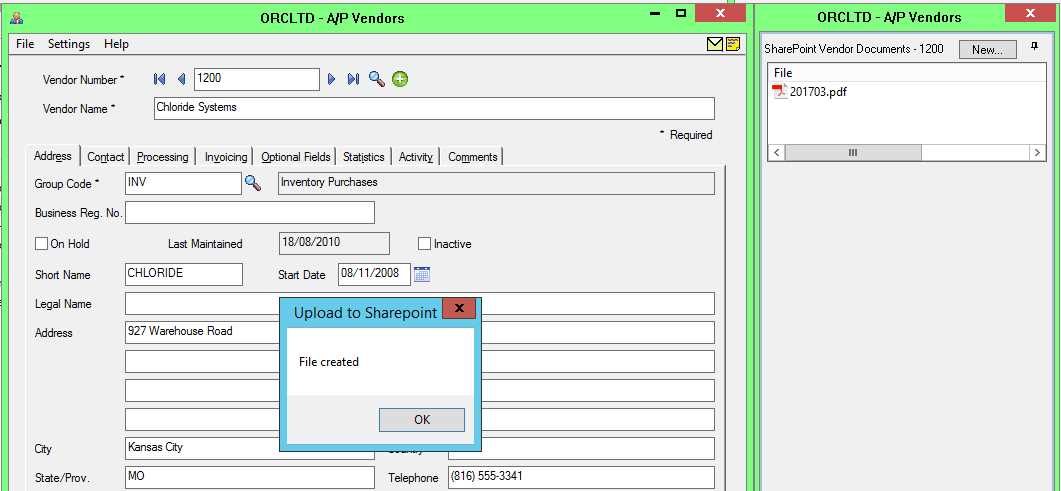
Step 2. View an A/P Vendor and add documents
When you drag and drop documents into the DML window, they are tagged in SharePoint with the Vendor Number and the Sage RotoID (program ID of the Sage 300 desktop screen).
In SharePoint, DML integration creates a folder per vendor, as we have included {value} in the folder field in I/M Options.
In this example, DML creates a folder called 1200, as per the Vendor number. The documents I have dragged are in the new folder, tagged with "Vendor Number" (field label), "1200" (field value).
List of documents in SharePoint

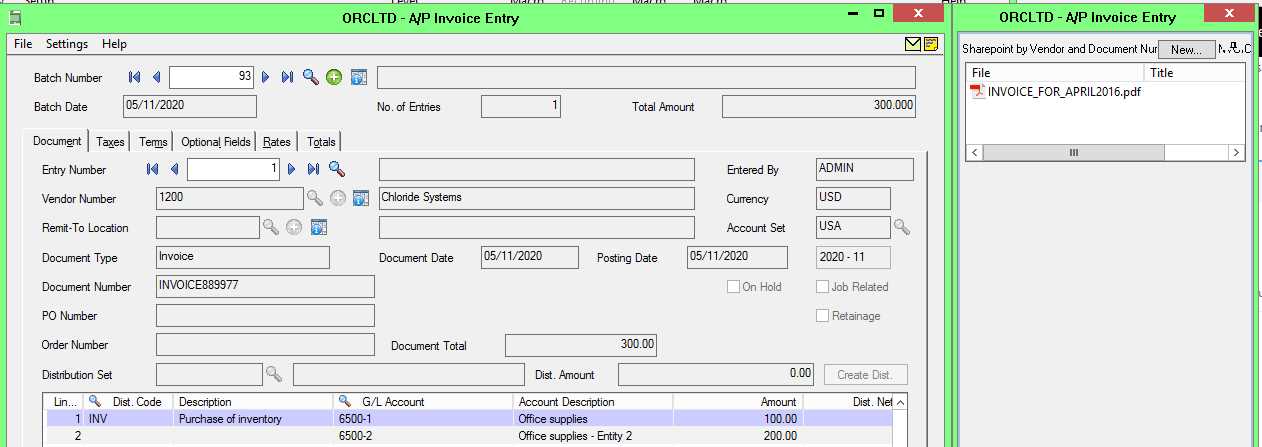
Step 3. View an A/P Invoice Batch
The document can be added as per above.
If you have configured DML to rename the file based on the values in Sage 300, the file is renamed as it is added to SharePoint, in addition to populating the column values.
If you want the file to be renamed based on Sage 300 records, you can configure this option in
If the "Open SharePoint when adding a document" is set to Yes, DML will open the document in your default browser. You can then update the title or other columns in SharePoint.
When you then view the A/P Invoice, DML filters by the Document number to display only the documents related to the selected invoice.
Tip: If you want the users to add a Title (or description) for the document as they are adding the file to SharePoint, you can select "Yes" for the option "Open SharePoint when adding a document". This will enable the operators to add a title for the document, in order to augment the file name when searching for documents.
Troubleshooting SharePoint Integration Guide
Refer to Troubleshooting Document Management Link with SharePoint Online