Tutorial : Create a custom table in Sage 300
You want to link Salesperson in Sage 300 to a Sales region group and report on Sales targets by region.
1. Create a table in Extender to define Sales regions and targets by region
2. Add a table in Extender to link Sage 300 sales person to a sales region (as you cannot attach optional fields to a Sage 300 sales person out of the box).
3. Enter data
4. Add the custom tables to a custom Crystal Report or an Info Explorer cube.
Create a table in Extender to define Sales regions and targets by region
Requirement! This functionality is available in Sage 300 Level Developer. The tutorials assumes Extender is installed and activated in the Sage 300 database.
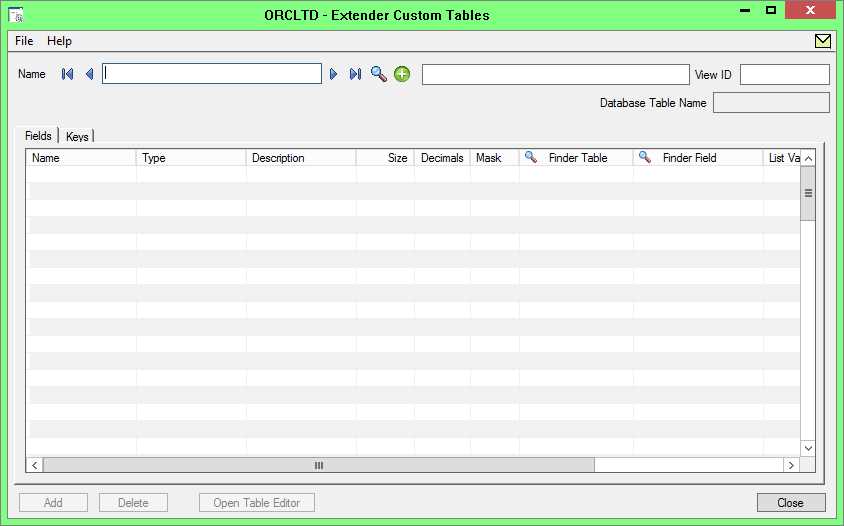
In Extender, go to Sage 300 > Setup > Custom Tables
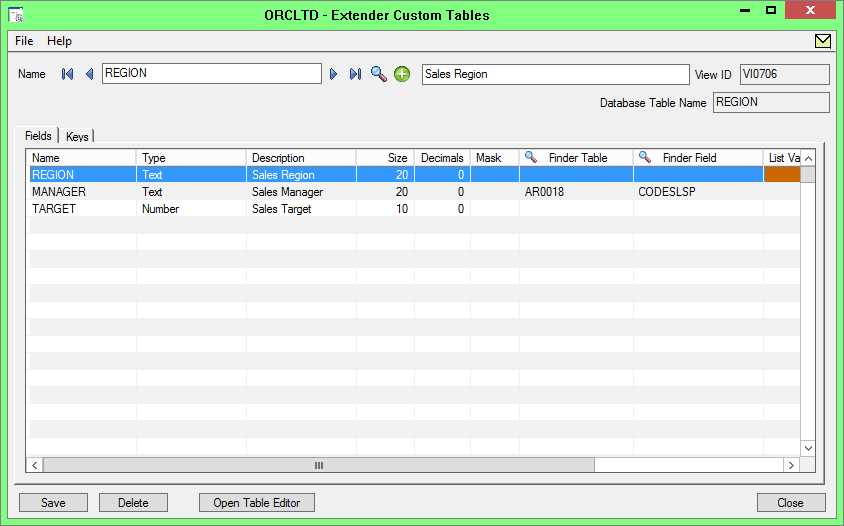
Type a Table Name and a Description.
Add the Fields you want to track.
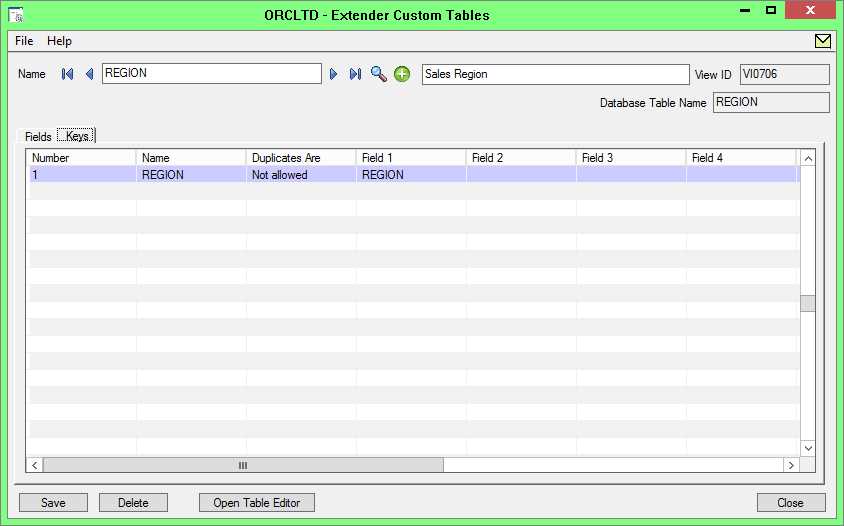
Define the key field/fields.
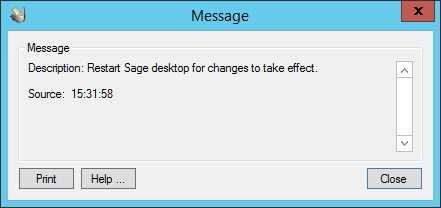
Restart the Sage Desktop for the Custom Table to be available.
Enter data in the Custom Table Editor

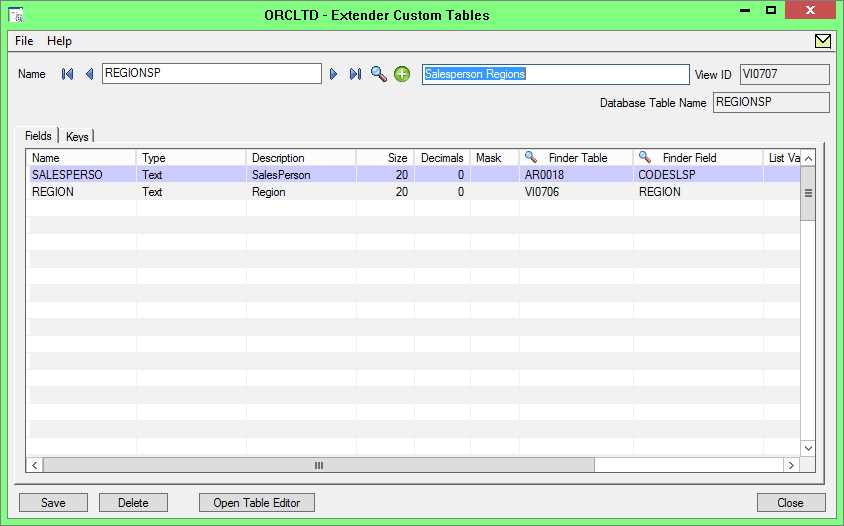
Create a table to track Region by Salesperson
Use the data in custom reports
The data is now held within the Sage 300 database, so is available for use in custom reports, will be included in backups, database dump and loads. It can also be used in custom Extender Python scripts and If using Information Manager Notes, the data can be displayed in the Alert box next to Sage 300 screens.
The Database table name can be viewed in the Extender Custom Tables Screen.