Using EFT Web Screens
Web screens for EFT Processing support the same features as the Sage 300 core modules. Refer to Sage 300 documentation for using the web screens.
Setup Tips
EFT Options : Default Advice finders - You can use the finder to select the AP Remittance Advice.
For the AR Remittance Advices finders, please type the Advice name or use the classic desktop screens to use the Finder.
Refer to EFT Options Default Advice Fields and Controls
EFT Banks - Tips for Web Screens
Refer to EFT Banks Form - Overview for details on setup.
Output destination
On the web screens, there is no finder to select a file path. If you choose File as the Output Destination, you need to copy and paste the file path. The file path needs to be a folder that the network user has access to.
When using the web screens, the network user is not the user logged in the machine. It is the user configured in IIS Authentication for the Sage 300 site. It can be the default IUSR account, or a configured network user. It can also be configured on the Application Pool Identity.
Note: To use File in EFT Banks, check the user configured in IIS and ensure it has rights to the folder used in EFT Banks. Use UNC Path and IP Address to ensure that the folder name exists for the network user configured in IIS.
Example: If you use c:\Temp, is it looking for the C drive of the App server (which users won't have rights to).
If you want to save the EFT File to a local file, choose “Download” and EFT will use the browser’s download settings to save the file locally.
Depending on your browser settings, the file will be saved in your default Download folder or the browser will prompt you to select a location.
Tip: Use SFTP if you don't want to download the file to a local machine or to the server. EFT Processing will upload the file directly to the configured SFTP Site. When using SFTP with Key file, copy the key file in the Sage 300 Shared Data folder to ensure the network User configured as the IIS website or Application pool Identity has access to it.
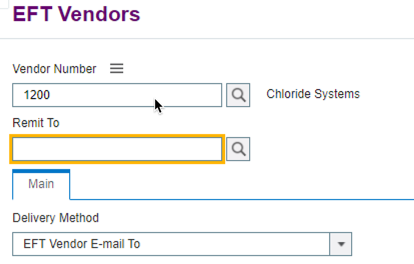
EFT Vendors - Tips for Web Screens
Create a new EFT Vendor record
To add a new Vendor to EFT, use the Create New button and use the Vendor Finder or enter the Vendor Number. Enter the required details. Save.
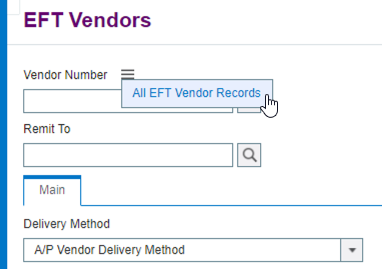
Select an existing EFT Vendor record
Use the All EFT Vendor Records icon  to select a record configured in EFT Processing.
Refer to EFT Vendors Overview for more details on EFT Vendor setup.
EFT Customers Tips for Web Screens
Create a new EFT Customer record
To add a new Customer to EFT, use the Create New button and use the Customer Finder or enter the Customer Number. Enter the required details. Save.
Select an existing EFT Customer record
Use the All EFT Customer Records icon to select a record configured in EFT Processing.
Refer to EFT Customers Form for more details.
See Also: Install EFT Web Screens